Unity Probuilder

Started using Probuilder to create simple shapes for the 3D game. Probuilder has a lot of the same basic functions as Maya used to modify shapes but seems to be easier to navigate without problems in the program or the mesh although it might cause problems in stages past the blocking stage. I think it helped to use Maya beforehand because although it is simpler, it has many of the same tools used to modify shapes (extrude, edge/vertex/face selection, and tools to quickly colour and texture a shape without UV unwrapping.

It can also be easier to use because it has a wider variety of pre-made shapes such as stairs. The objects can be coloured and textured within unity quickly and don’t need to be unwrapped making it much more efficient.

probuilder-stair-shape

Image result for probuilder unity

3D Game Asset List

Did some of the asset list for the 3D game although it will likely need to be updated. Decided on an autumn setting for the game which made coming up with the assets and priorities much easier. The main priority assets will use mostly orange, red, yellow and brown colours to make the autumn theme apparent and tried to add an example of each different variation of an asset e.g. Green tree, Yellow tree, Bare tree. This makes it easier to refer to because there is no need to think about the variations needed in the word ‘Tree’. Included a column indicating if the asset will be animated or not and another column for notes, mostly about how these will be animated.

Asset list screenshot

3D game character design

3D game character sketches.pngCame up with some ideas for the 3D game I am creating. The sketches are all simple and mostly based on simple shapes like cubes and spheres. Kept it simple to focus on animating the character after it is modeled. The most likely ideas on the page are below

Ponytail character sketch.png2 character sketch.pngCube character sketch.png

None of the characters have legs or feet that would be animated in a walk cycle because it would waste time. If I went with the second option I could make a way for the player to control the two parts that detach or just use this to make the animation more interesting.

Mech design

Used Alchemy to create 20 random shapes that I could eventually refine into silhouettes for a vehicle design by adding details to make them look more like a mech or vehicle design.

Sil4
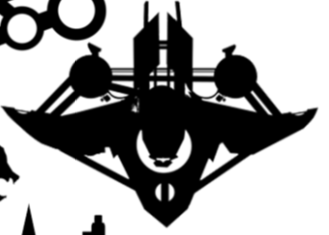
Created a generic ship shape in a triangle shape to make the design look streamlined. The stray lines under the ship looked like loose wires so i added more to make it look intentional.Thought the shape looked too dark so I added a circle of negative space with what could be a corridor running through it.


Sil5

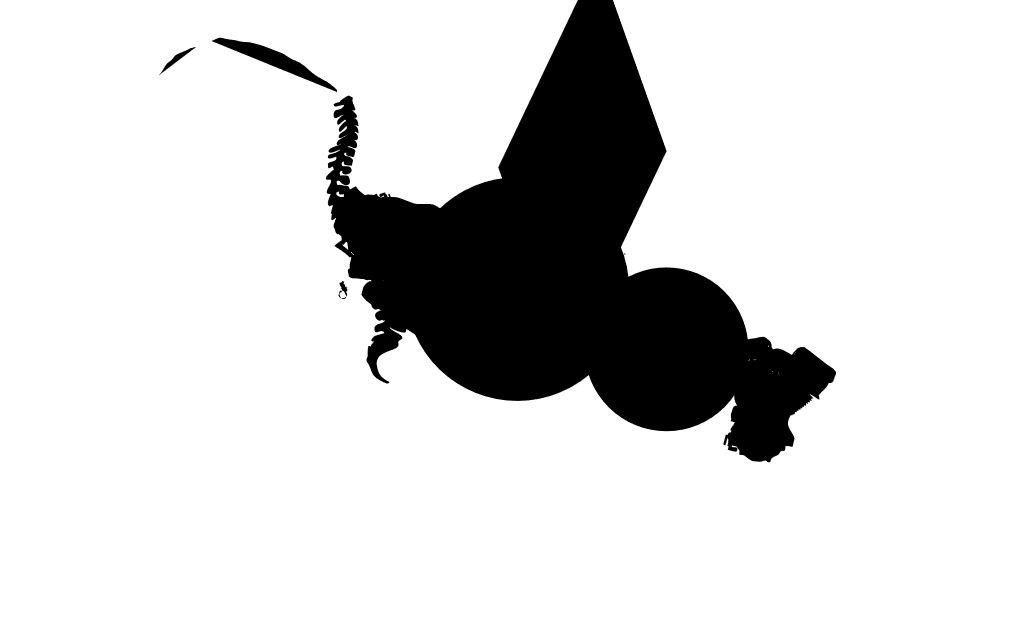
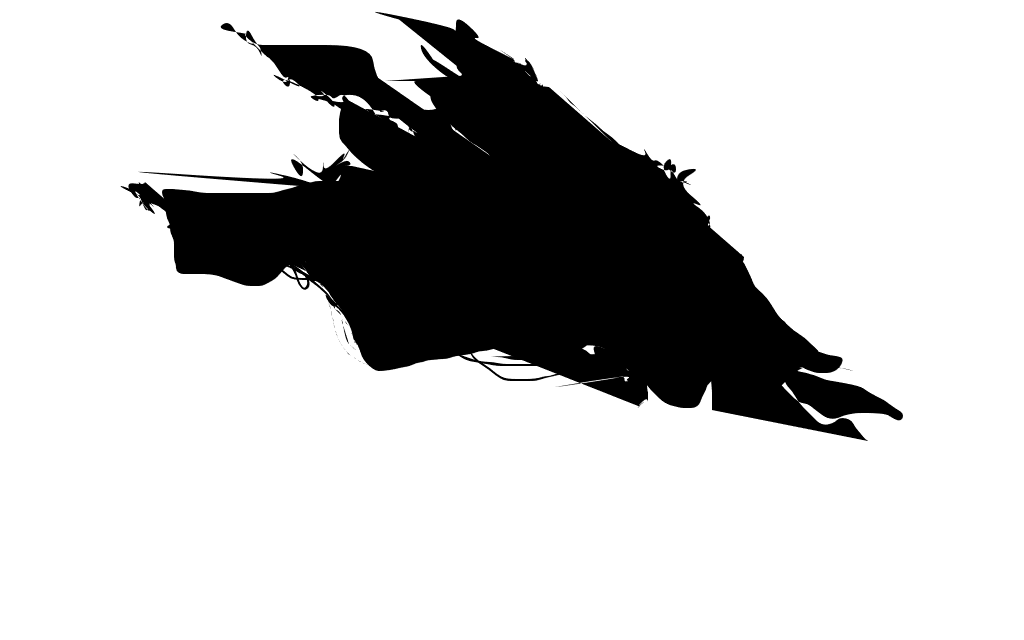
The ‘pull’ tool in Alchemy creates random objects and shapes. It created this and I thought it looked like the head, torso and tail of an animal. Made into a ship that resembles an animal and added wires and straight lines in areas to indicate that it is mechanical. The pull tool created the shape of a spine where the tail would be so I added some lines that look like ribs in the finished silhouette to follow a skeletal theme. Added something that looks like the tail of a cat since the shape initially looked like a tiger.


Sil1

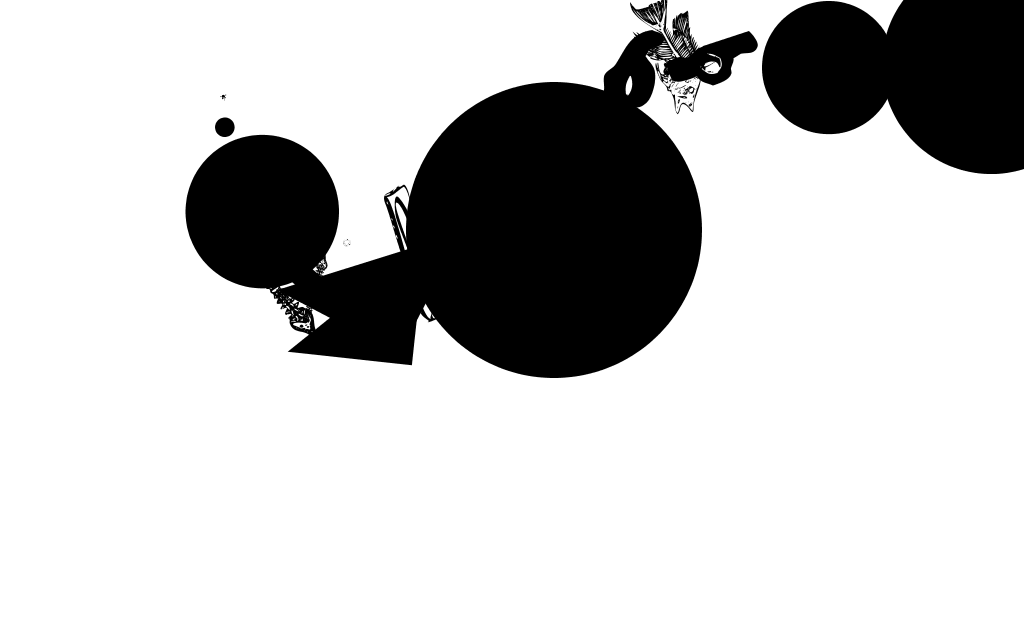
This is possibly the shape with the most difference in final result. Made the larger circle a central part of the finished version and made it look as through it would fly using the circles on either side, either by hovering or propelled forward using them somehow.

Sil2

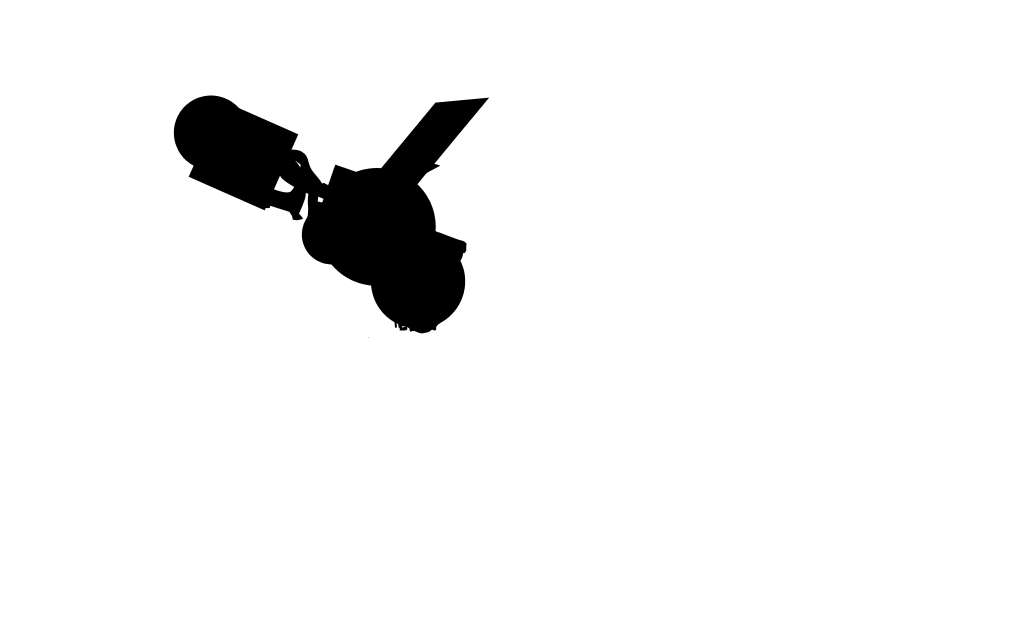
Using the pull tool again, Alchemy came up with a smaller, simpler shape so I made something non threatening and reasonably simple. Tried to make it look like the body and face of a robot with antennae and wings. Overall shape looks circular and has some character.

Silhouettes Screenshot 1

Of all the finished silhouettes, my favorite is probably the top left or bottom right. Top right because it makes the most sense in  terms of 3D modelling and is the most recognizable as a ship and bottom left because the idea took more thought. Least favorite is probably the top right because some of the shapes don’t make sense in terms of where they would place in a 3D model and it’s hard to tell what is in front of or behind what shape. I like the bottom left in terms of character design but I want to stick to the theme of a ship.

Added 3 more designs to the collection of silhouettes.

Diamond shaped ship

Fly ship

Snake ship

Silhouettes Screenshot 2

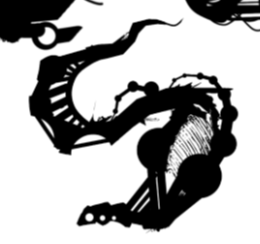
Decided on the ship I ultimately want to model and continued with the idea by adding textures to the silhouette using clipping masks and shading by using dodge and burn tool. Picture below is a work in progress and still some polishing needed around the area that looks like a rib cage.

Snake ship painted wip

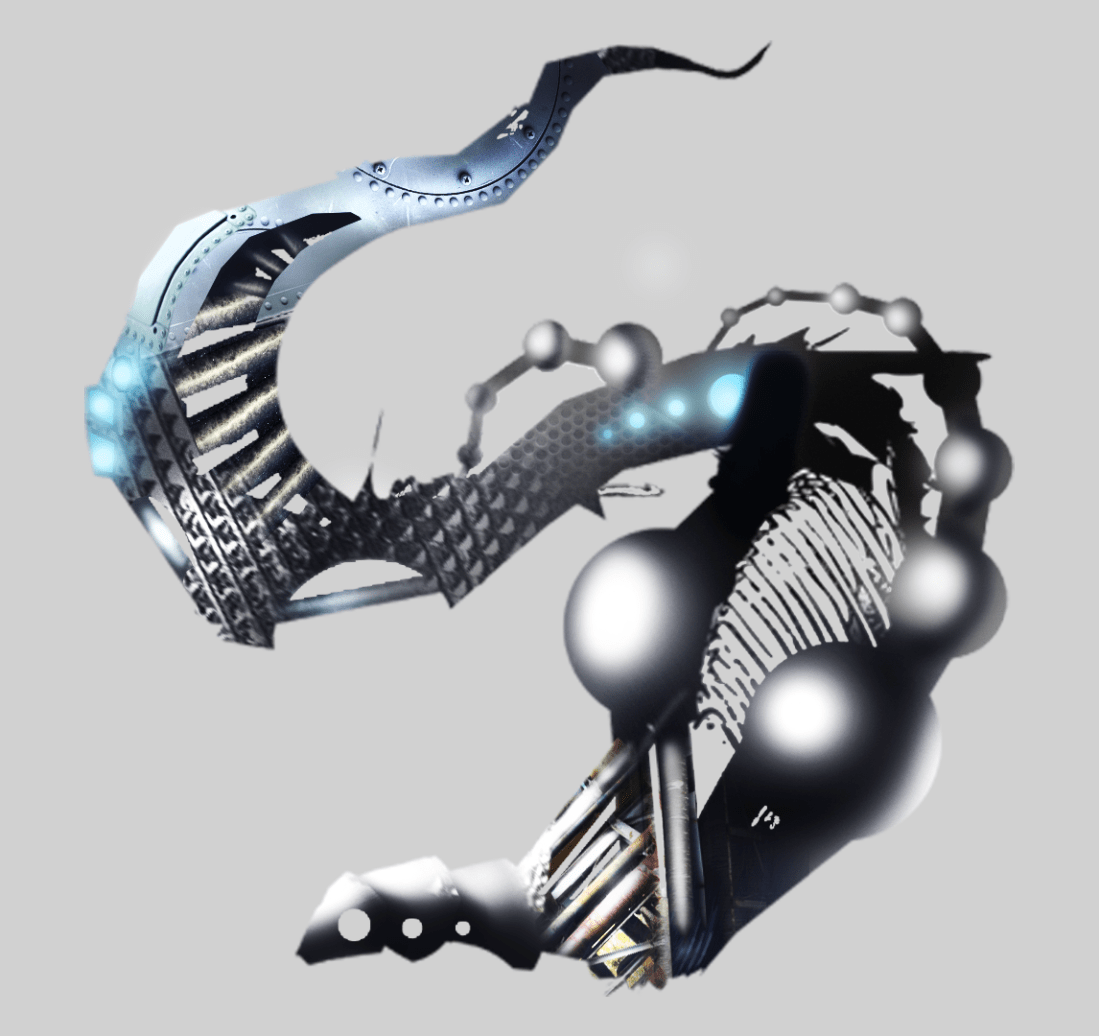
Added photos to the area left blank in previous photo and added blue highlights to areas affected by the lights

Used photos of pipes to cover up blank space and edited a photo of a grey car to look like a panel on the side. Could be either a ship or a mechanical snake. Position on concept looks confusing. Some things appear to be viewed from the side and others 3/4 or front. Currently sketching a clearer side view so it will be easier to model overall.Snake ship painted

snake ship front 1snake ship front side 1snake ship side 1

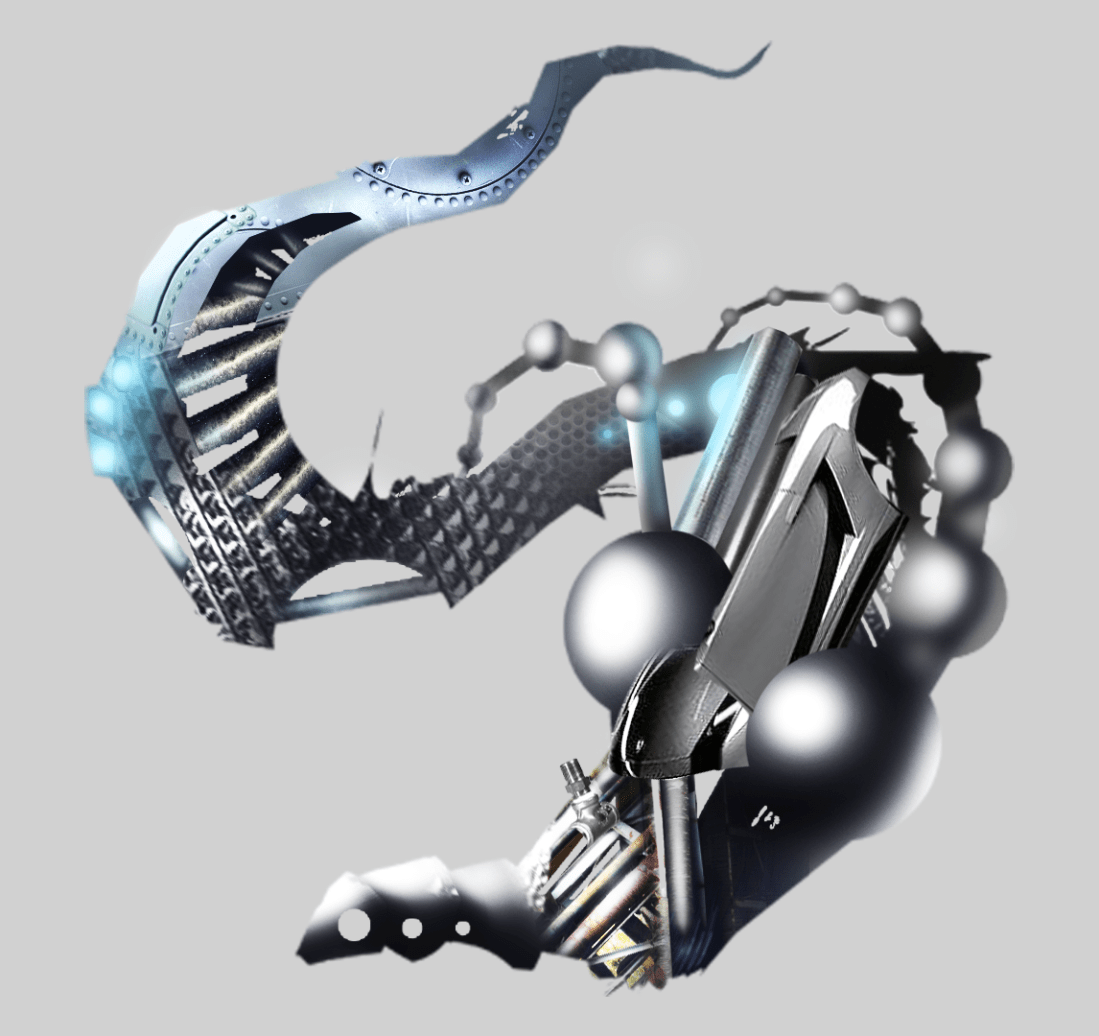
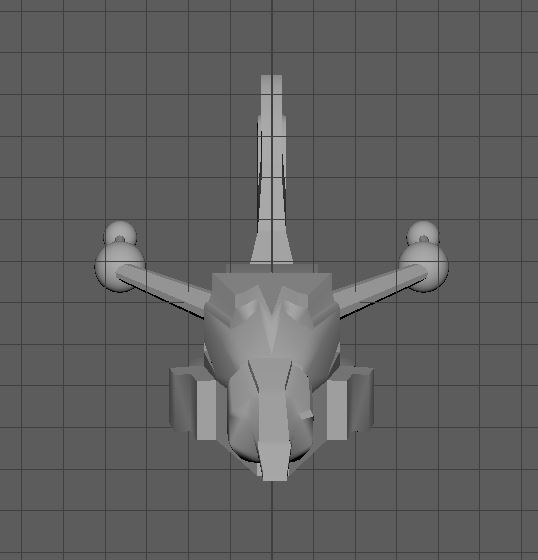
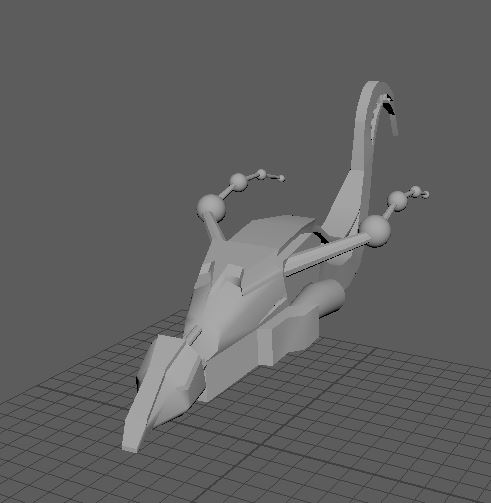
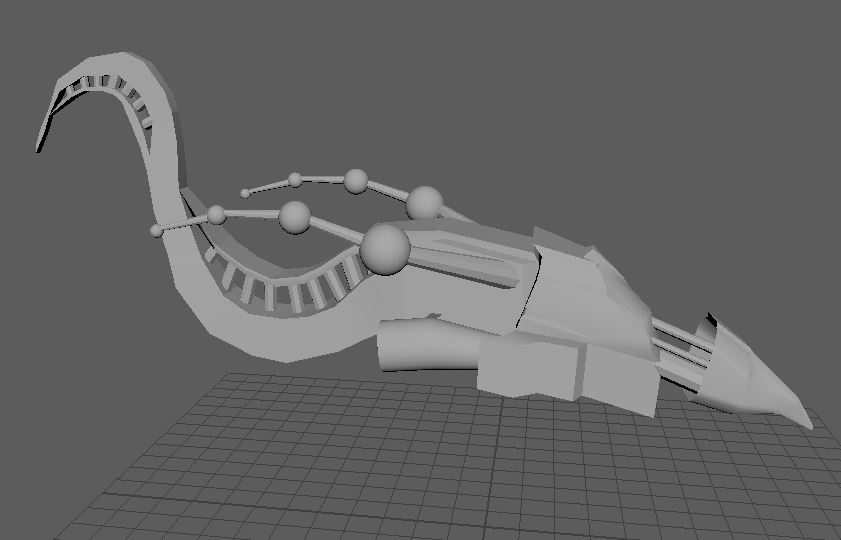
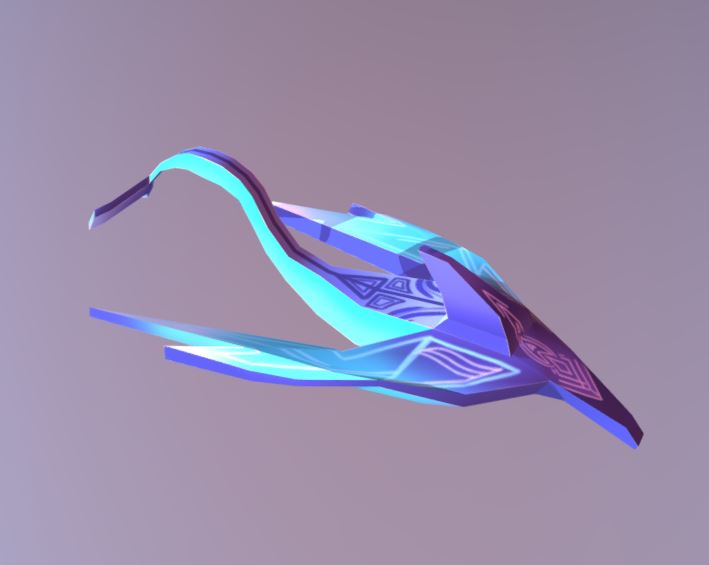
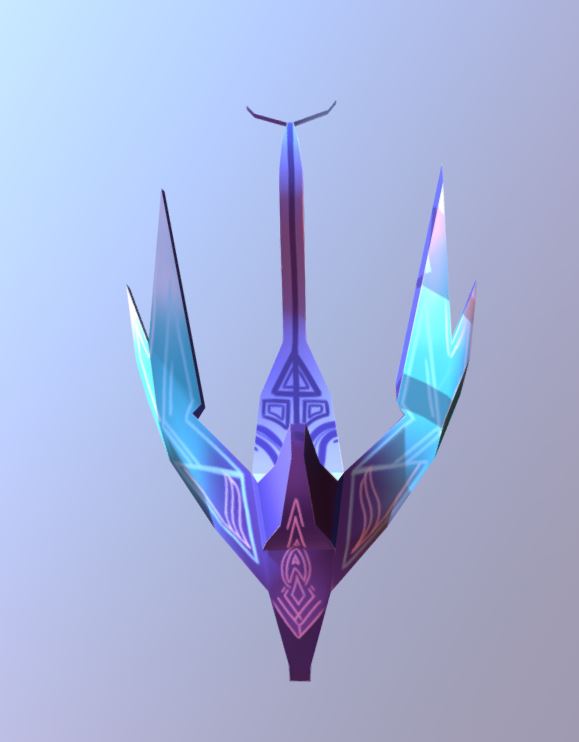
Very happy with how to model turned out. I think it’s an improvement from the last attempt at making a ship and I think the design looks interesting. I was planning to UV unwrap the entire model but after learning about baking a high poly model into a low poly model, I think that could be less time consuming.

Texel Density

Texel Density is how much resolution is on a mesh. It is affected by the texel density set, the UV map and the mesh. More detail in the texture indicates a higher texel density. It is important that the resolution stays consistent throughout the model and objects in a scene. Having one object or a part of a mesh high resolution and the rest low resolution would usually look disjointed.

The texel density of this sword model is consistent and the detail overall in the cracks, metallic appearance and the effect of a light glowing from or against the golden part of the sword. One side of the sword is copied onto the other side to save time but at a glance it looks very visually appealing

Composition

atey-ghailan-studio-ghibli-fan-art-53-princess-mononoke-M01-1140x500.jpg

First thing I noticed was the figure and the animal because of the brighter background acting as a backlight for the silhouette. The light is dispersed throughout the scene because it is set in the evening and appears tranquil and warm. Shadows in the sketch look blue, this could be to add some variation in the colours used.

The lines of rocks, bushes, and trees lead toward the character, drawing attention back to him. The character’s hood and clothes look slightly more colourful than his surroundings so this draws more attention to him.

Maya: UV Unwrapping/Texturing

Since the two ships I intended to UV unwrap and texture were not made with this stage in mind (Too many cylinders, spheres and inefficient in the way that it was made up), I decided to start a new ship, focusing much more on design than trying to make it complex. Since starting the first ships  I had a better grasp of how to use Maya so I found it much easier to do.

Half way through making the front of a ship, I thought of making it into a combination of something mechanical and an aquatic creature. After making the tail, I made the wings more streamlined to appear like fins, added a fin on top and a long pointed nose similar to a dolphin.

To begin with, the UV map opened up to the shape of an unfolded cube because the whole ship was built from editing a cube. Considered adding other elements but thought it might be unnecessary and take up even more time that was wasted from starting a new ship.

Using the previously learned steps on UV unwrapping, I unwrapped the ship. Had some difficulty since the unfold button didn’t work but learned that the ‘Unfold Along’ button worked the same. Followed some steps to tidy the disorganization on the UV editor, making it easier to navigate and texture.

Learned some colour theory in preparation for texturing the ship and decided I am likely going to make it blue with gradient textures as these look neat and suit the fairly simple model

Texturing involves exporting a snapshot of your UV map and opening it up in a program you can use to fill in and texture the panels. Using Photoshop since I am most comfortable with the program and using a combination of the magic wand tool and lasso tool because I have more control over where the selection is made.

Fish ship UV Map blackbg.PNG

https://skfb.ly/6CuzN

ship1ship2

Tried adding metal textures but the result didn’t look good so I added gradients in colour schemes I liked and designs to different areas of the ship. Tail and pattern underneath the ship were based on a whale or fish. Could have made design on the ‘nose’ of the ship beforehand to make it look more intricate and pasted it onto the UV map. May need to practice using photo textures on models to make them look more realistic or practice using textures on UV maps enough to make it look seamless.

Colour

red zeppelin7

The first thing I noticed was the pink balloon on the right side of the image. This is because of the size of it and because it contrasts against the blue sky. It doesn’t look out of place because of the other pink tones throughout the image (such as other balloons, the red objects at the base of the rocks, and the pink shifted clouds) The colours are darker round the bottom  edges and corners of the pictures, drawing more attention to the light area at the top of the rock with the building on it. The colour scheme is analogous because the colours shift from blue to purple to pink to pinkish-red throughout the picture. The bottom third of the image is red and green complimentary colours, maybe to draw attention to the figure at the bottom of the picture on the pier/boat.

Key Words

Rigidbody:

A Rigidbody is put on an object to have it affected by the force of gravity

Collider:

A collider is put on an object to make it physical so it can affect other objects. This is different to rigidbody as it doesn’t necessarily mean it is affected by gravity. This can be used on its own as things such as floating platforms but colliders are necessary for any things to interact.

Prefab:

A prefab is a saved object that can be used at any time. Prefabs can be created with the desired settings such as rigidbody, colliders and physics Effectors already applied so they can save time creating sprites and changing the settings manually.

Physics Effector:

Physics Effectors affect the way things interact with them. They can act as magnets, make things float, move faster etc. This can be useful in game design when the level demands different situations such as wind pushing the player in a different direction, treadmills slowing the player down, platforms used to speed the player up or pulling the player in a specific direction. Types of Effectors include:

Area Effectors: affects the way the air in an area moves. Could be used as wind movement. Usually the area affected has no visible sprite.

Surface Effectors: Conveyor belts

Buoyancy Effector: Makes objects float

Point Effector: Pulls or pushes objects against a specific point.

Unity: Goals and enemies

We have started programming out 2D game, using C# to allow the player to move the ball left and right, hit an enemy and restart the level and reach a goal to move to the next level. Started having difficulty with C# when the goal didn’t function properly. The ball moved through the square without moving to the next level. This was because the second level wasn’t set up in build settings and there was no string connecting “nextLevel” to Level 2. There is currently an issue with sprite visibility. All of the existing sprites show in the hierarchy but are not visible in Scene or Game view. All the settings are in the Inspector tab so after looking it up, it could be an issue with the sorting layers.

Goal scriptball rolling lr script